Welcome to Pet Chicken

Raising chickens for eggs…
Do you Want to try Raising Chickens?
Here is Your Starting Point!
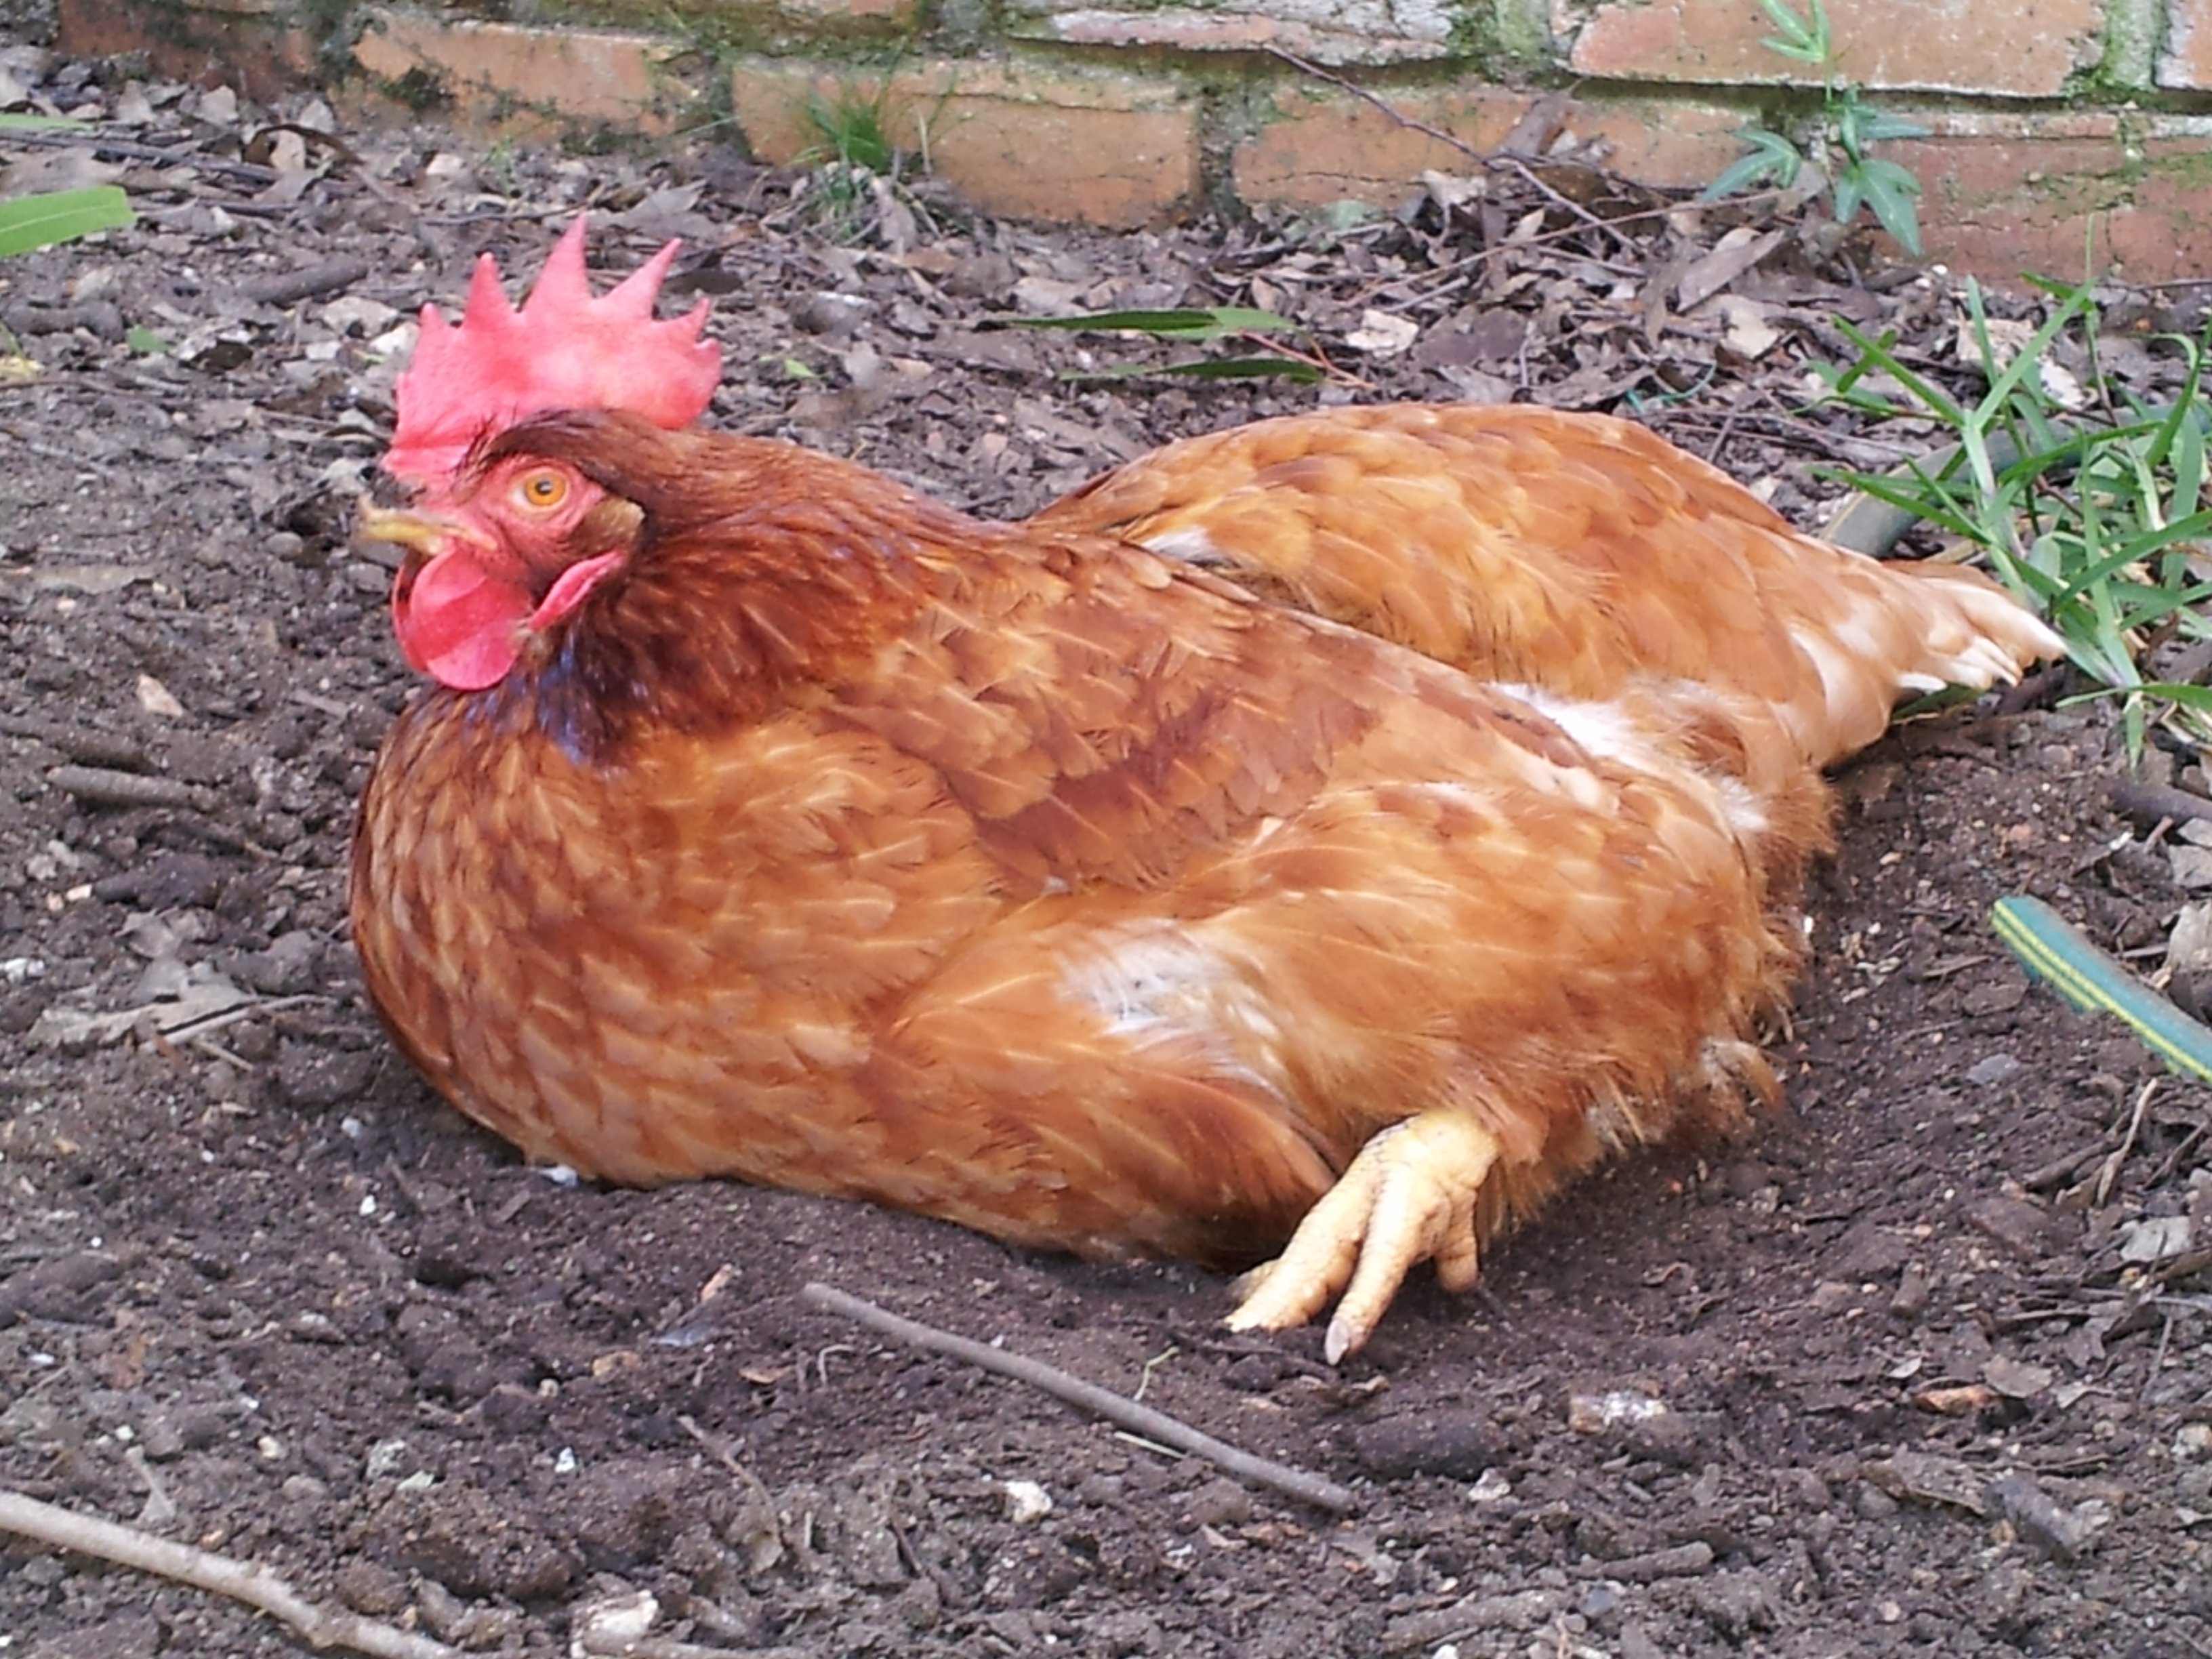
I love my pet chicken.
Hens, that is.
Roosters are too noisy, but hens just quietly cluck and peck the ground, and nobody even knows they are there.
They eat flies and other insects for you, keeping to a minimum the annoying flying things in your yard.
They also eat your vegetable scraps, lowering your volume of garbage. And, eventually, they give you eggs. Lots of them.
Have you ever wished you had been raised on a farm and had to scatter a handful of corn to the chickens every day? Now you can. With a simple coop, and a flock of 3 (they do best in groups of at least 3), you can have fresh eggs even if you live in a basic subdivision with neighbors, curbs, and paved streets.
Backyard chickens are on the rise in these days of caring for the environment, and keeping a small coop fits with being green–you know where some of your food (at least your eggs) come from. Try it for yourself.
These are some of the best things about raising chickens:
Collect your own Eggs – yes you will be able to collect and eat your own eggs, knowing that your chickens have been kept as happily and as healthily as possible. Because you have looked after and nurtured them, and given them the best chicken feed, and lots of yummy kitchen scraps, and have allowed them to scratch around your garden. Nothing beats raising chickens for eggs, and then collecting your own fresh eggs from your own happy chickens!
Chickens eat bugs! By keeping and raising your own chickens in your backyard, you will be able to keep the bugs and creepy crawlies away! If you can give your chickens a little free range time around your garden, they will eat all the bugs, snails, and crawling pests that they can find. They love it, and it is a real treat for them to have some free range time pecking around the grass and dirt.
Recycle your kitchen scraps. When you have chickens, you will reduce your kitchen waste right down to the minimum amount of waste possible. If you take care with sorting your waste into trash, recycling waste, and chicken scraps, you will be amazed how much you can reduce your trash pile, and that has got to be good for the environment! And your chickens will love it! A bunch of kitchen scraps every day will send them into a tizzy of excitement as they peck through the scraps for a tasty leftover morsel. And then they will lay another fresh egg – raising and keeping chickens is great fun!
Improve your garden. With almost no effort at all you can improve your garden with the manure your chickens create. Just rake it up and spread it around your garden beds, or, better still add it to your Compost bin or Compost Tumbler, and let it enrich your soil that way without risk of burning your plants.
Train the chickens to be like pets! Yes a pet chicken can become an adorable feathered friend, and they will come to recognize you at feeding time, and come running to you, especially when you bring those kitchen scraps that we talked about. In fact, if you allow them a little free range time around your backyard, your pet chicken will happily follow you around as you play in your own garden, which can be a really fun time and a great way to enjoy your time outdoors. Your Pet Chicken will love some time to sun itself during the day, and will stretch its wings and catch some warmth whenever possible – they are very cute pets!
Click Here to find out the best ways for raising chickens!
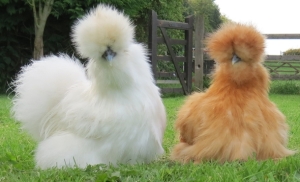
Choose the breed of chickens that you like the most.
There are many types and varieties of chickens that you can keep in your backyard, and they make the most adorable little pets, or you can choose the best egg laying chickens, or you can choose chickens that lay larger eggs, or whatever you prefer. Did you know that different breeds of chickens and their eggs can be a very interesting subject that some people specialize their whole lives around? The choice is amazing and you can really have fun selecting and raising chickens that are just right for you!
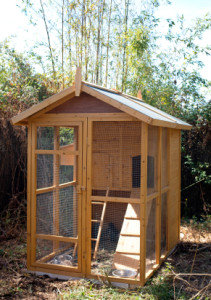
Choose from a range of chicken houses.
You will be amazed at some of the latest designs and plans for chicken houses, chicken coops, and even chicken tractors that are out there right now! These designs can accommodate everything from 3 chickens in a small hutch to 20 hens in warm, dry and large chicken houses. For the best chicken accommodation, be sure to include a safe nesting box to lay eggs, a elevated roost for night time sleep quarters, and even a fenced chicken run so that the chickens can enjoy a little outdoors time during the day. You will also need to ensure that when you are buying chicken houses that they have a safe and secure hatch or door, so that the chickens can move around during the day, but can be locked up during the night for their own protection.
Click Here for a guide to the best Chicken Houses!
My Pet Chicken
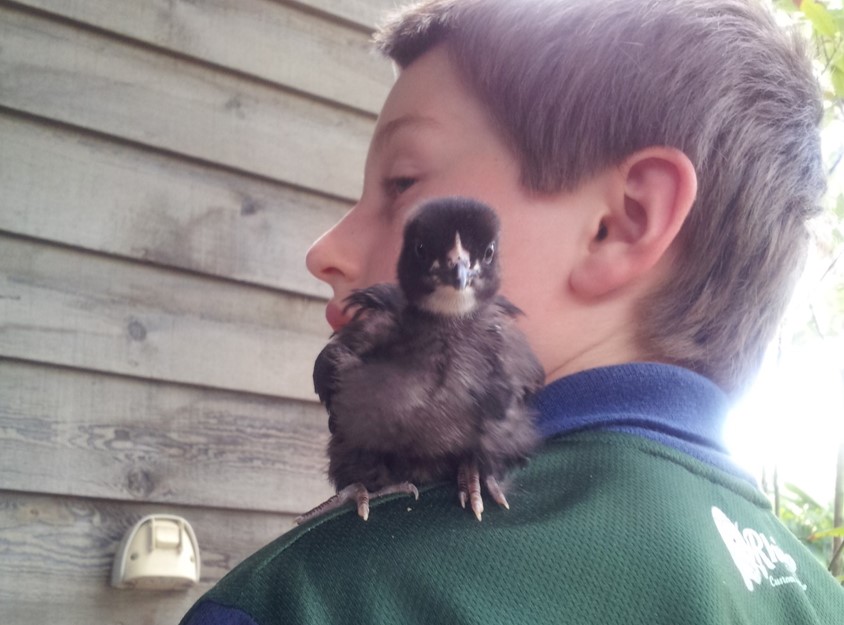
When you introduce baby chickens into the environment of a family home, they can become a lot more than just backyard chickens. When your children and the whole family get to experience the joy of raising a baby chicken at home cannot help but treat the new family pet as my pet chicken!
That’s how it was for our family, when the children saw a baby chicken for the first time, they were besotted with such a cute little chicken, all yellow and fluffy. In fact, they found it hard to believe that such a cute little ball of fluff would grow up to become a chicken. But while the little baby chick was growing up, it certainly became a family favourite, and everyone wanted to call it my pet chicken.
My Pet chicken is so adorable
The best thing about having a pet chicken is that the children can share the wonderful experience of raising their very own pet. This means they can learn to be responsible for raising an animal that they can call my pet chicken. They can learn to be responsible for feeding and watering the baby chick, and even have fun by hand raising their very own pet chicken.
There is nothing more cute and adorable than a baby chicken, and when you raise a baby chick right in front of your children, there is no more exciting and fun learning experience that they can share. Children watch with huge excitement a day old chicken learns to stumble its way around the chicken brooder, finding its very own chick food for the first time, splashing in the water, and then collapsing exhausted under the heaters for a nap. Kids will have endless hours of fun with my pet chicken, and they will learn some valuable lessons at the same time!
Little chickens grow up to be big chickens!
Kids will be amazed at how quickly chickens grow up. With the right food, and nice warm heat lamps, it doesn’t take long for baby chickens to grow up into bigger chickens, and they grow very quickly! But this can be a very exciting time for children also because they can have fun with training my pet chicken to be handled and to introduce the chicken into the household. This doesn’t mean you have to keep your chickens as indoor pet chickens, and you can still move them to your backyard coop when they get big enough. Or you can certainly keep my chicken as an indoor chicken if you like to as pet chickens make adorable little indoor pets without much training at all.
My pet chicken is an indoor pet chicken
My pet chicken will respond well to a little training, and handling. The more that my pet chicken becomes accustomed to being handled by children, the more tame they will become. In fact, my pet chicken can become a very affectionate little pets and will actually come looking for human attention and human company. Before long, my pet chicken will become a friendly and valued member of the family.
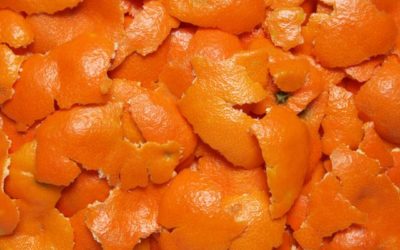
Can Chickens Eat Orange
Can Chickens Eat Orange Peel and other Citrus Fruit? We all love feeding our pet chickens with all the yummy scraps from the kitchen. As far as I can tell, the chickens love receiving all the yummy treats also! In fact they come running as soon as I appear in the...
How to Build a Small Farm Chicken Coop
In Maslow’s hierarchy of needs, shelter is a most basic physiological requirement. Just like humans, chickens require protection from their environment in order to thrive. Their health, safety, and ability to lay eggs all depend on it. Ready to break ground on your...
Chicken Sour Crop and How to Avoid it
What is Chicken Sour Crop, and how to avoid it Because chickens do not have teeth to chew and tear up their food, so they can only peck food scraps and swallow things whole, so then they rely on a multi stage digestive process to breakdown their food. Instead of...
PROOF Eggs are the Best
PROOF Eggs are the Best Option Have you heard of the latest way to make sure your eggs come from happy chickens? “PROOF” eggs stand for “Pasture Raised on Open Fields” and is a new terminology applied to raising happy chickens. We are starting to hear more about...
My Pet Chicken
My Pet Chicken is so Much Fun! My Pet chicken is so much fun to raise at home, and to collect the eggs every day. The best part of having pet chickens is watching the excitement on the kids faces as they learn how to look after their very own pet chickens every day,...
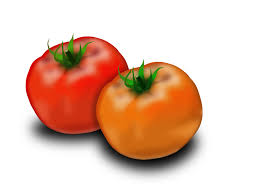
Can Chickens Eat Tomatoes
Can Chickens Eat Tomatoes? The answer to this question is a little more complicated than it first appears. Because pet chickens are just about the best little recycling machines going around, we tend to think that we can feed them anything and they will be able to...
Diatomaceous Earth for Chickens
The popularity of keeping chickens in the backyard, on a patch of land, or even on a larger acreage has enjoyed a real surge over the past decade, and now you can even use diatomaceous earth for chickens. With an ever growing awareness about healthy lifestyles and...
Can Chickens Eat Potatoes
Can Chickens Eat Potatoes ? We all love to feed our friendly pet chicken with all the scraps from the kitchen, and there always seems to be a lot of vegetable scraps such as potatoes, beans, carrots, and all sorts of greens and colorful stuff. And that is excellent...
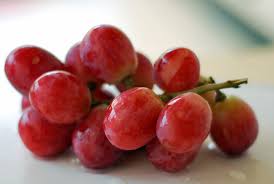
Can Chickens Eat Grapes
What about dried raisins and sultanas? As nice as it is to give our friendly pet chickens some lovely treats, maybe we should check to see if it is safe for chickens to eat grapes before we give them too many to eat! Fortunately, it is safe for chickens to eat...
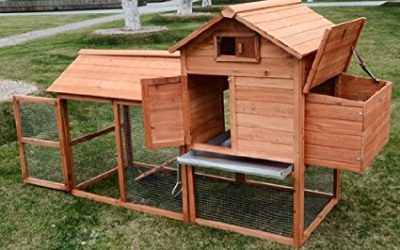
Best Chicken Coop Reviews
Best Chicken Coop Reviews and Special Deals Here at Pet-Chicken.com, we love looking after our pet chickens as if they are royalty, and it only seems appropriate that we share with you some of the best "chicken palaces" (aka best chicken coop) that we have found...
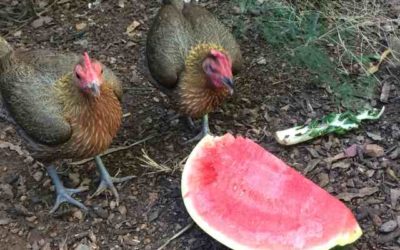
Can Chickens Eat Watermelon
Can Chickens Eat Watermelon? At first this doesn't seem like a hard question - don't we all love watermelon? There is nothing better on a hot day than a lovely cool watermelon for a sweet and healthy refreshment! And when we finish with the scraps, we leave the...
What not to feed chickens
What not to Feed Chickens Most people are surprised to see how chickens can eat almost all of the kitchen scraps that we collect for them - and how much they seem to love them! There are some food scraps that chickens should not eat, so we have made a list of what...
How to keep chickens happy
How to keep chickens happy Even though we tend to lead very busy lives these days, the simple act of looking after pet chickens can be an excellent way to relieve stress, and all it takes is a little care and attention of your lovely little pets each day. Happy and...
How to keep chickens healthy
How to keep your chickens healthy As we have discussed on other blog posts here at Pet-Chicken.com, your backyard chickens tend to have fairly basic needs and really don’t require a lot of effort to keep them healthy and free of chicken parasites. As long as...
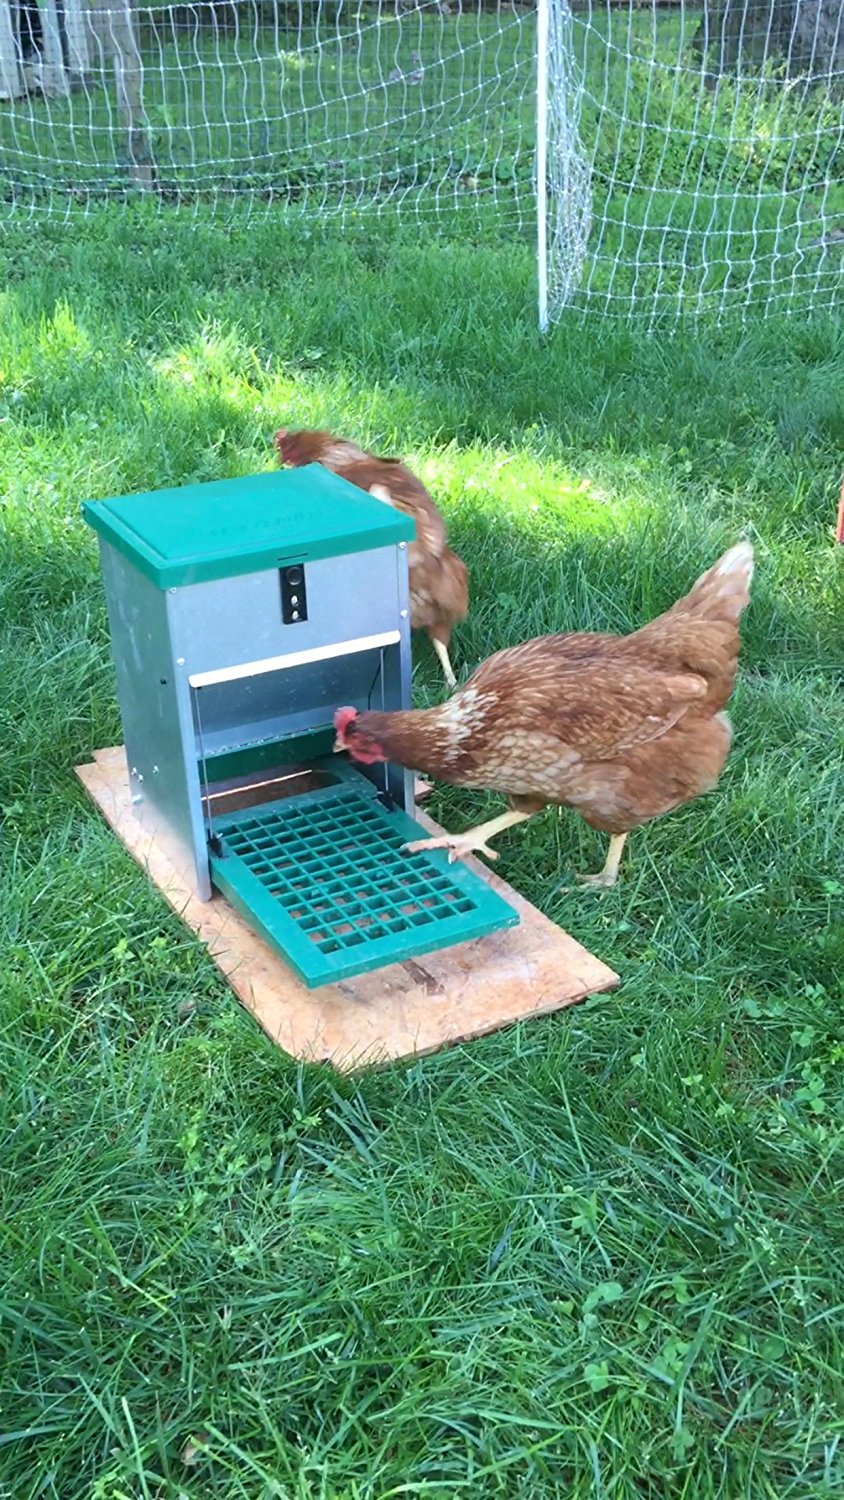
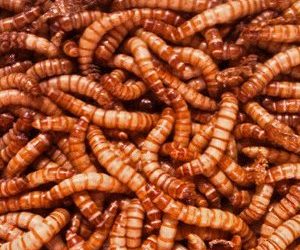
Review of Chicken Treadle Feeders
Do you want to know about the latest Chicken Treadle Feeders? Here is a really neat idea on the market - chicken treadle feeders! Have you ever seen these chicken treadle feeders, which deliver feed to your chickens on demand - that is whenever they walk up to...
How did Chickens get to New Zealand
Did you know that chickens sailed around the world? Well not really, but chickens are not native to New Zealand, so they must have arrived there somehow. In recent studies of the DNA of old chicken bones in New Zealand has discovered some interesting facts...
Baby Chickens FAQ – how to look after baby chicks
How to Look After Baby Chickens Q: What is Pasty Butt? What is Pasting Up? A: These names are all given to the same unfortunate but dangerous condition of baby chickens where you have to make sure they don’t get all pasted up by poop. Chickens have one...

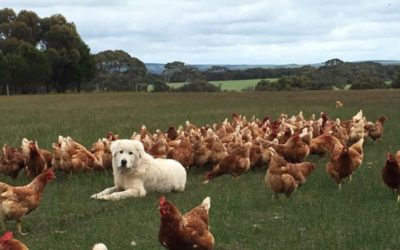
Not all chickens are garden friendly
Backyard Chickens If you have always wanted to keep chickens in your backyard, but you were afraid that they might ruin your garden, then you are right to be concerned! Not all chickens are garden friendly, and if you have a flower garden with wonderful blooms...
Backyard Chicken FAQs – How to look after Backyard Poultry
Q: Can I raise backyard poultry at home? A: Of course you can! I believe there should be a chicken in every backyard! Chickens are really quite easy to look after, and with a little food and water, they will return the favor by providing you...
10 tips for Raising Chickens
I love raising chickens and keeping them in my own backyard! Here is a list of my favorite things about keeping and raising chickens in my garden, and some tips about how you can easily raise chickens in your own backyard! We highly recommend raising...
About Me
 Hi, I’m Jodie! I love to see my chickens scratching in the dirt for worms, sunbathing, stretching their legs and enjoying life – and I love the gift of their beautiful eggs for my family to eat! Read More...